This week we learned how to work in guided edits and full edits. In guided edits, we learned how to perfect a portrait, add a realistic reflection, use style match, apply LOMO affects and make pop art. In full edits, we learned how to recompose a photo and use the spot healing tool. I really enjoyed the LOMO affect the most this time. I liked the way the LOMO affect gave more to background of the picture. Most people don't see use for the background so they ignore it, but LOMO adds more of a cool affect. I might paint a picture of a bakery and then use the LOMO affect to give it a nice antique background finish. Richard Hamilton was known for the pop art idea. Cross processing is part of the LOMO affect and is an alternative dark coloring tool that is highly saturated. Applying a vignette darkens the edges and is part of the LOMO affect.
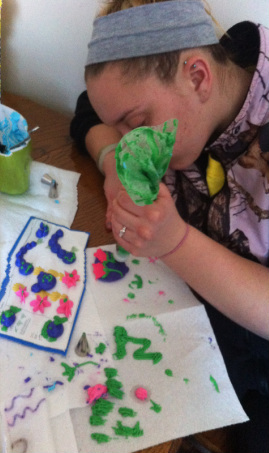
I used the recompose tool on this picture. First, I selected the red mark for removal and then I painted over some of the background that had nothing to do with the picture. Then I cleaned up my lines with the erase highlights marked for removal eraser. I then finished by dragging the photo from the left, inward until the background was gone.
| intern.png |
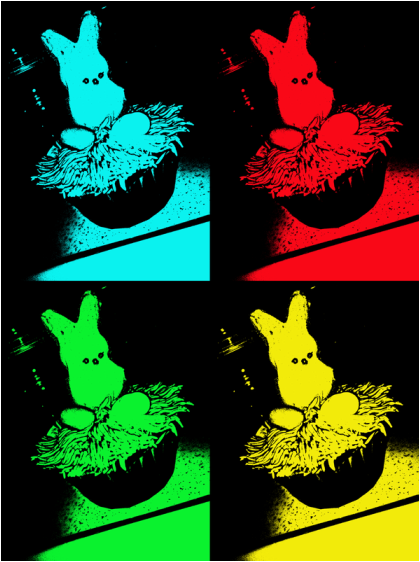
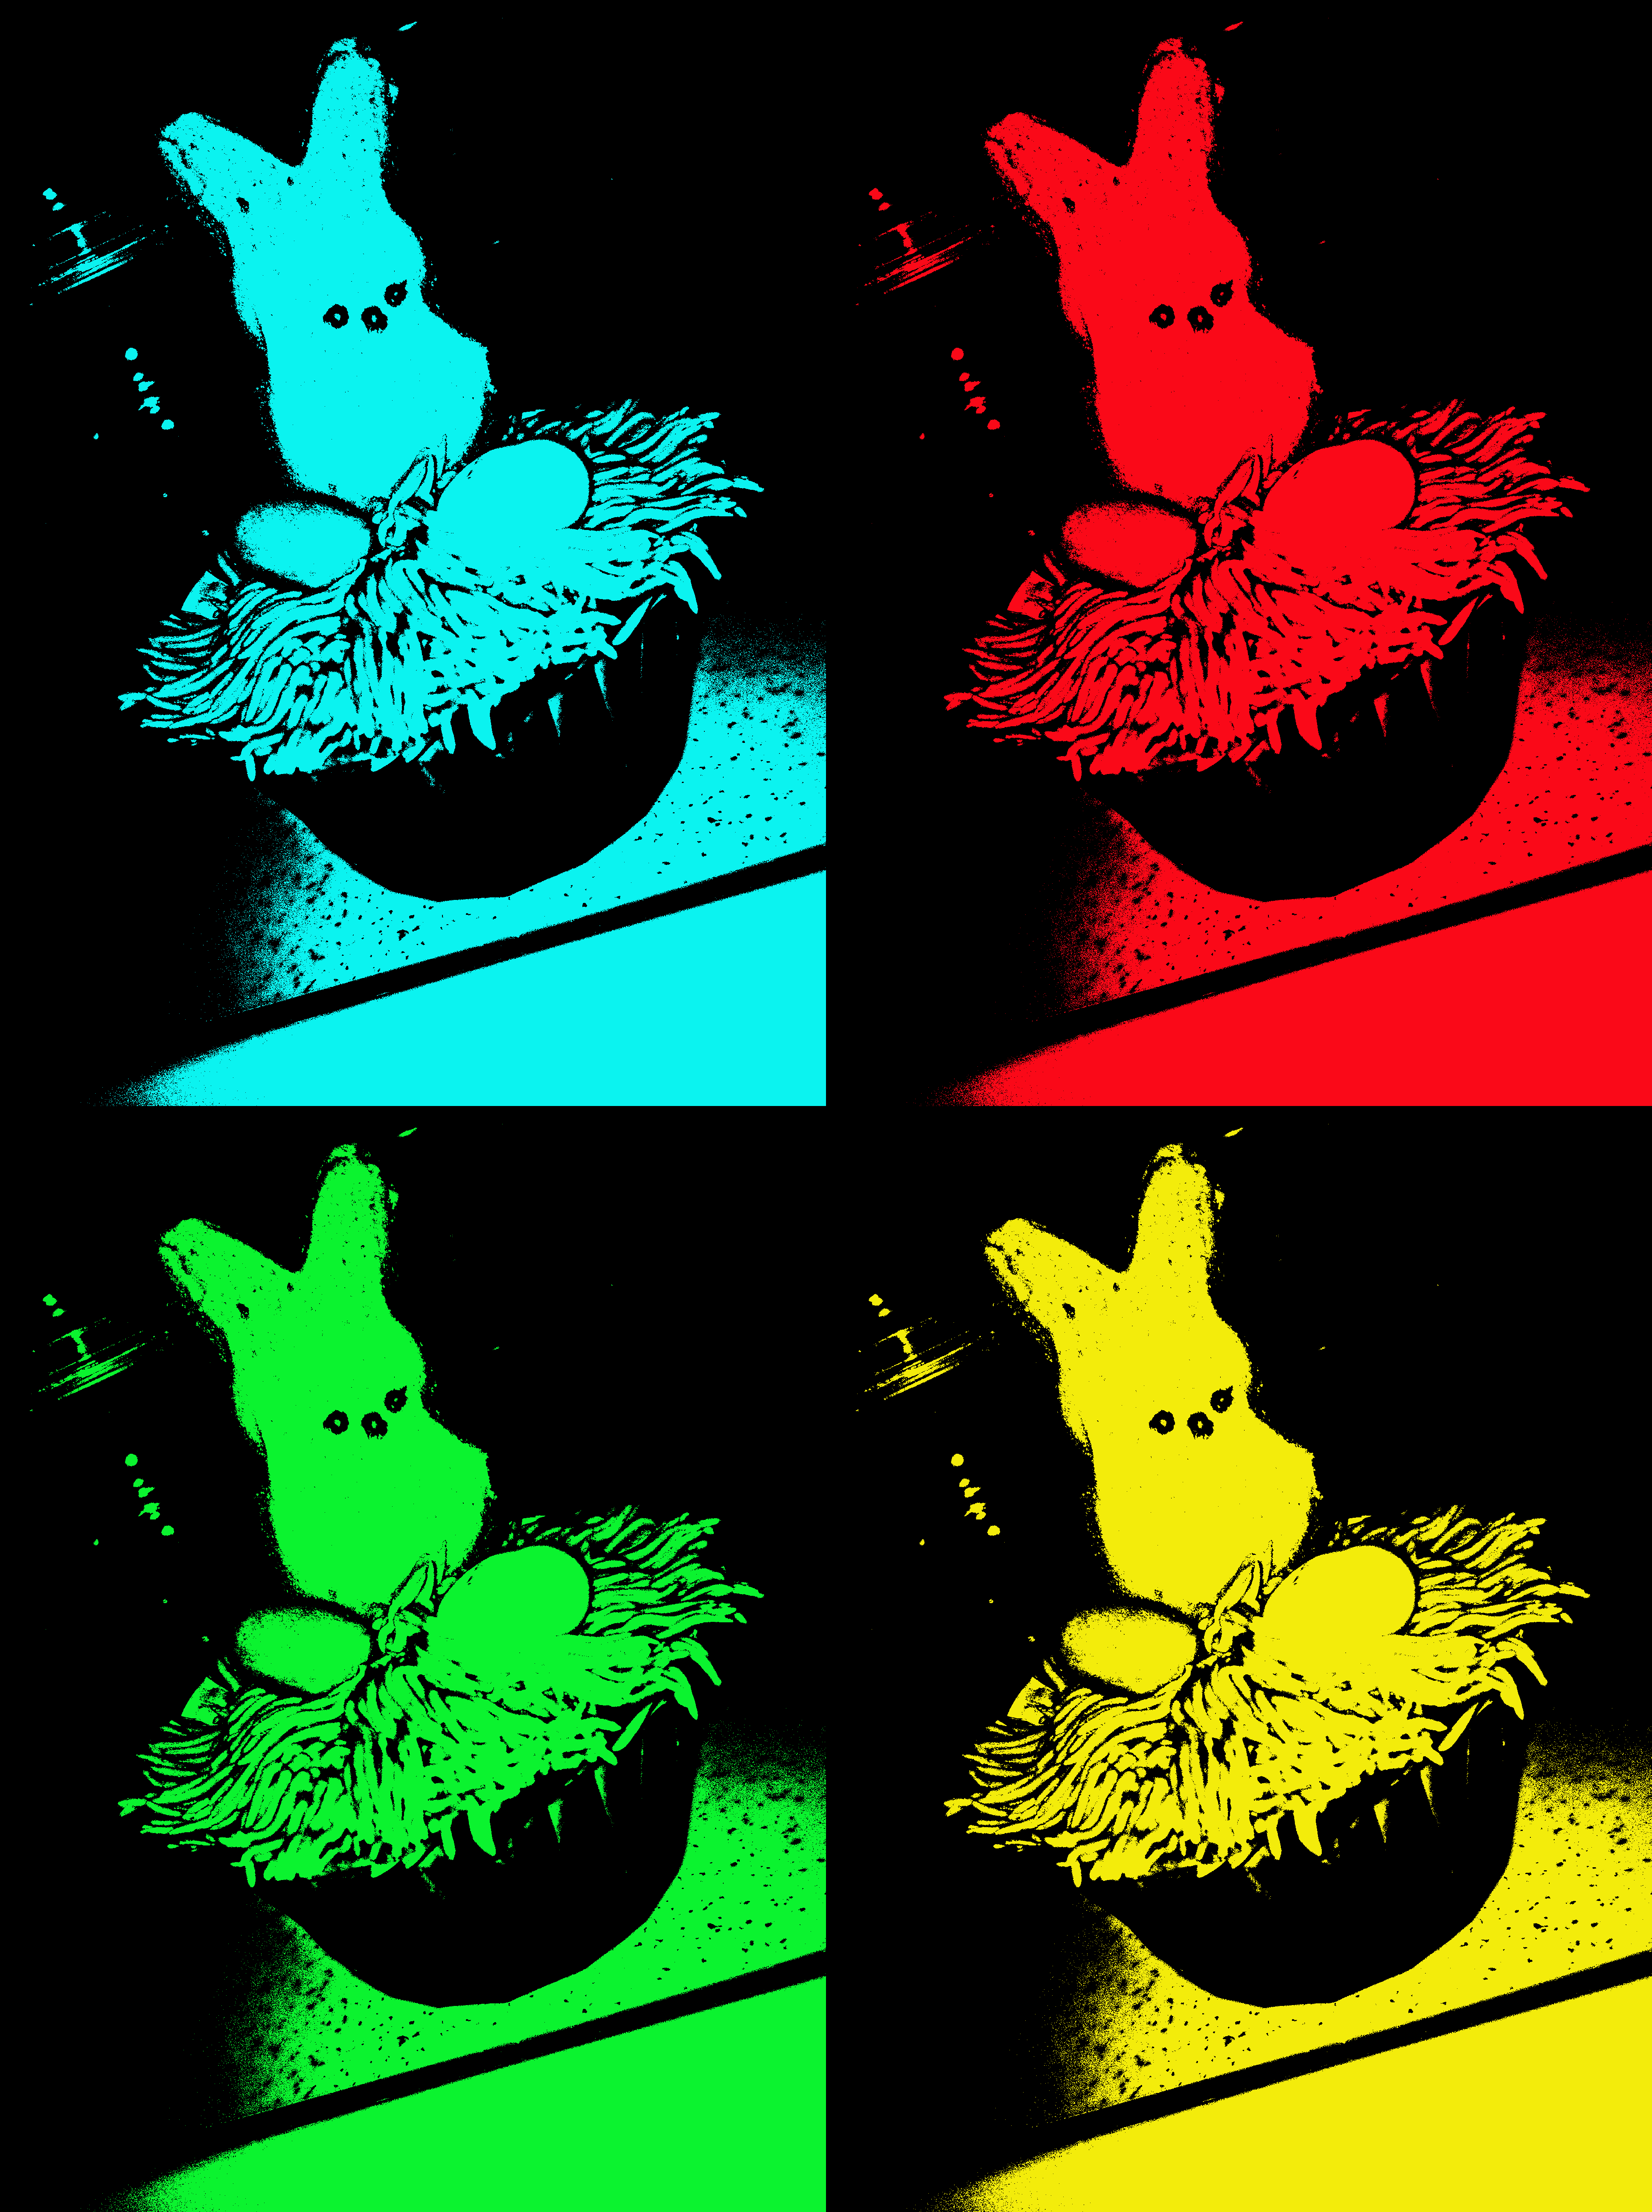
I used the pop art tool on this photo. First, I went to edit-guided-fun edits- and then selected pop art. I chose the first style, or the one that is four (different) solid colors and black. I then followed the instructions on the side by converting the image to Bitmap, adding color, and duplicating it.
| bunnycupcake.png |
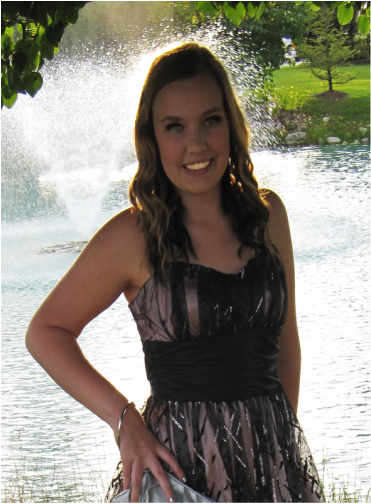
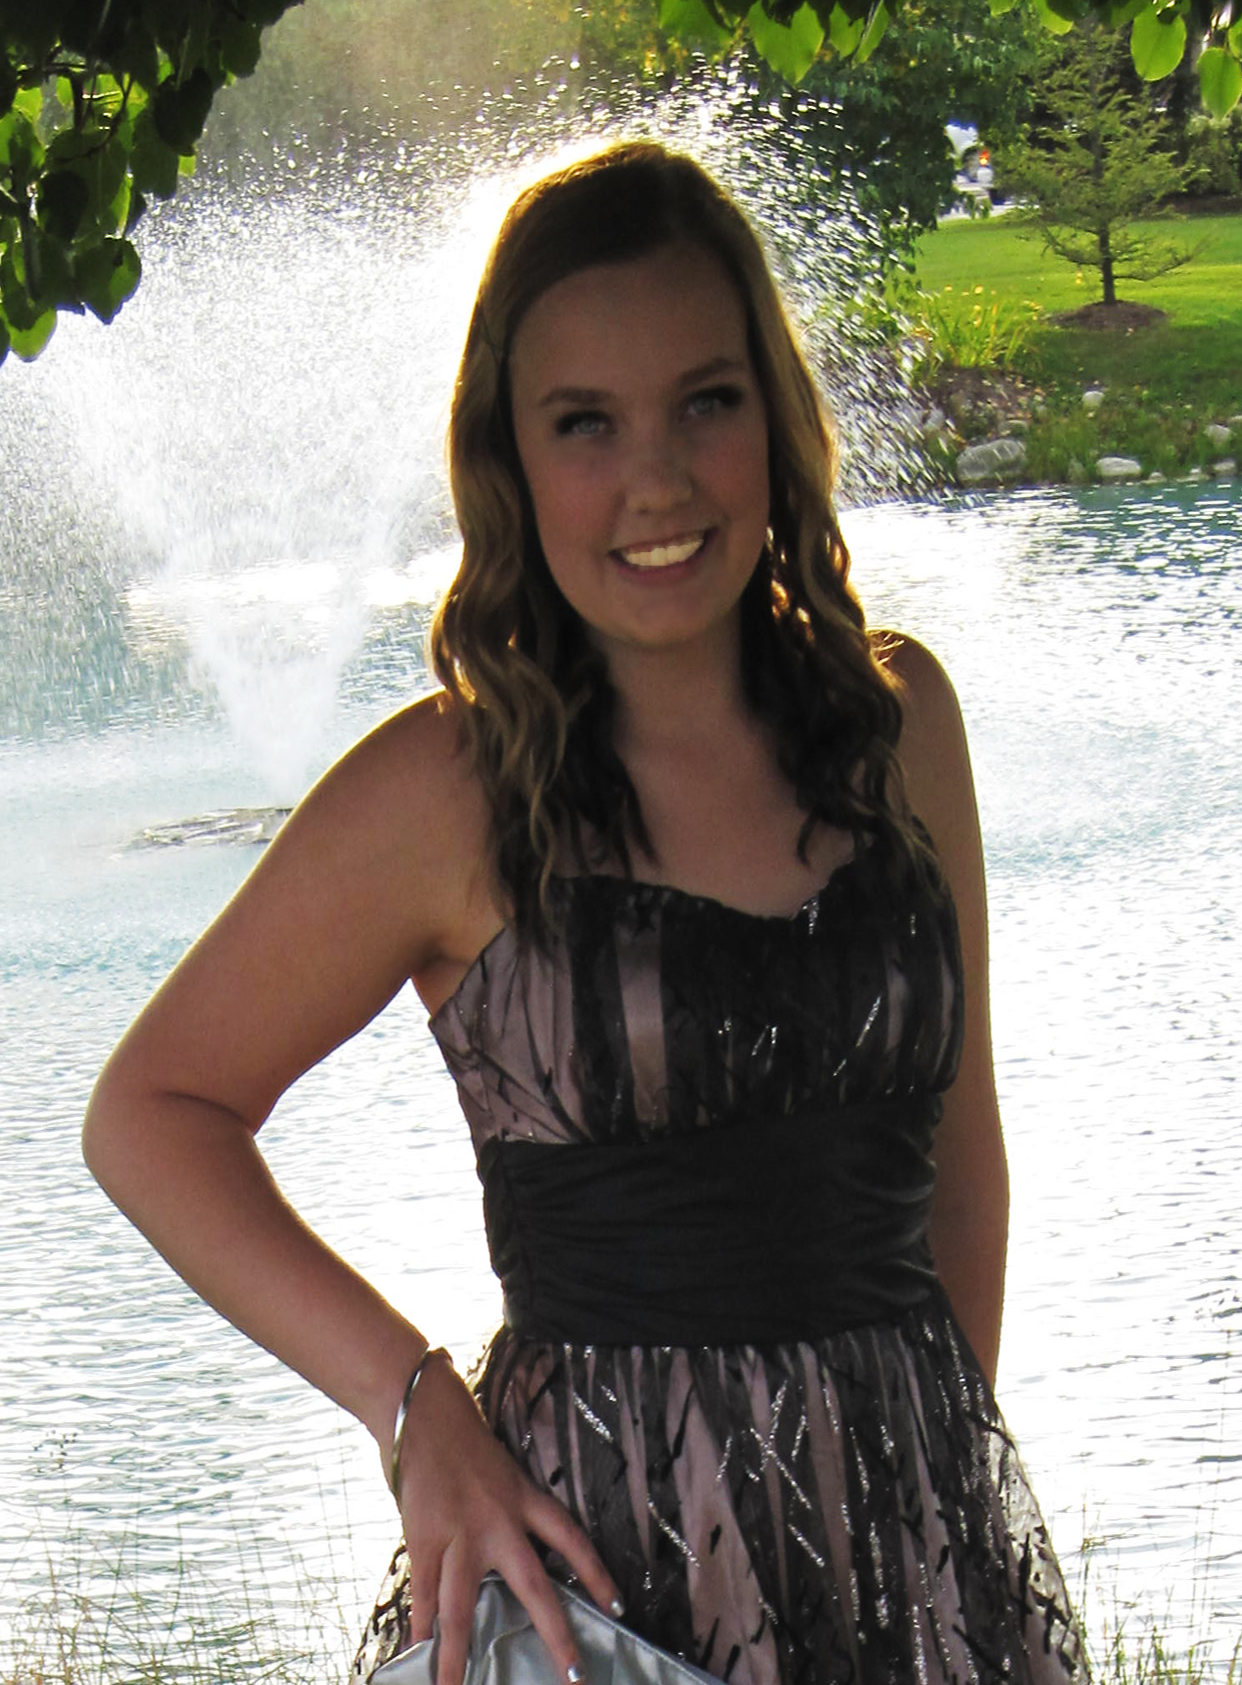
I used the perfect portrait tool on this photo. I increased the contrast two times to really bring out the background. Then I used the teeth whitening tool and the burn tool. The burn tool was used to darken the eyelashes and eyebrows.
| homecoming2013.png |
 RSS Feed
